When it comes to quintessential picnic snacks, apple cartwheels have long held a special place, offering a perfect combination of fruity sweetness and baked goodness that are too tempting to resist. From the crunchy bite to the juicy center, apple cartwheels are the epitome of comfort food, serving up nostalgia alongside a healthy dose of orchard-fresh flavor. In this in-depth blog post, we’ll peel back the layers of what makes apple cartwheels an enduring favorite among picnic planners and the perfect recipe to whip up for your next al fresco feast.
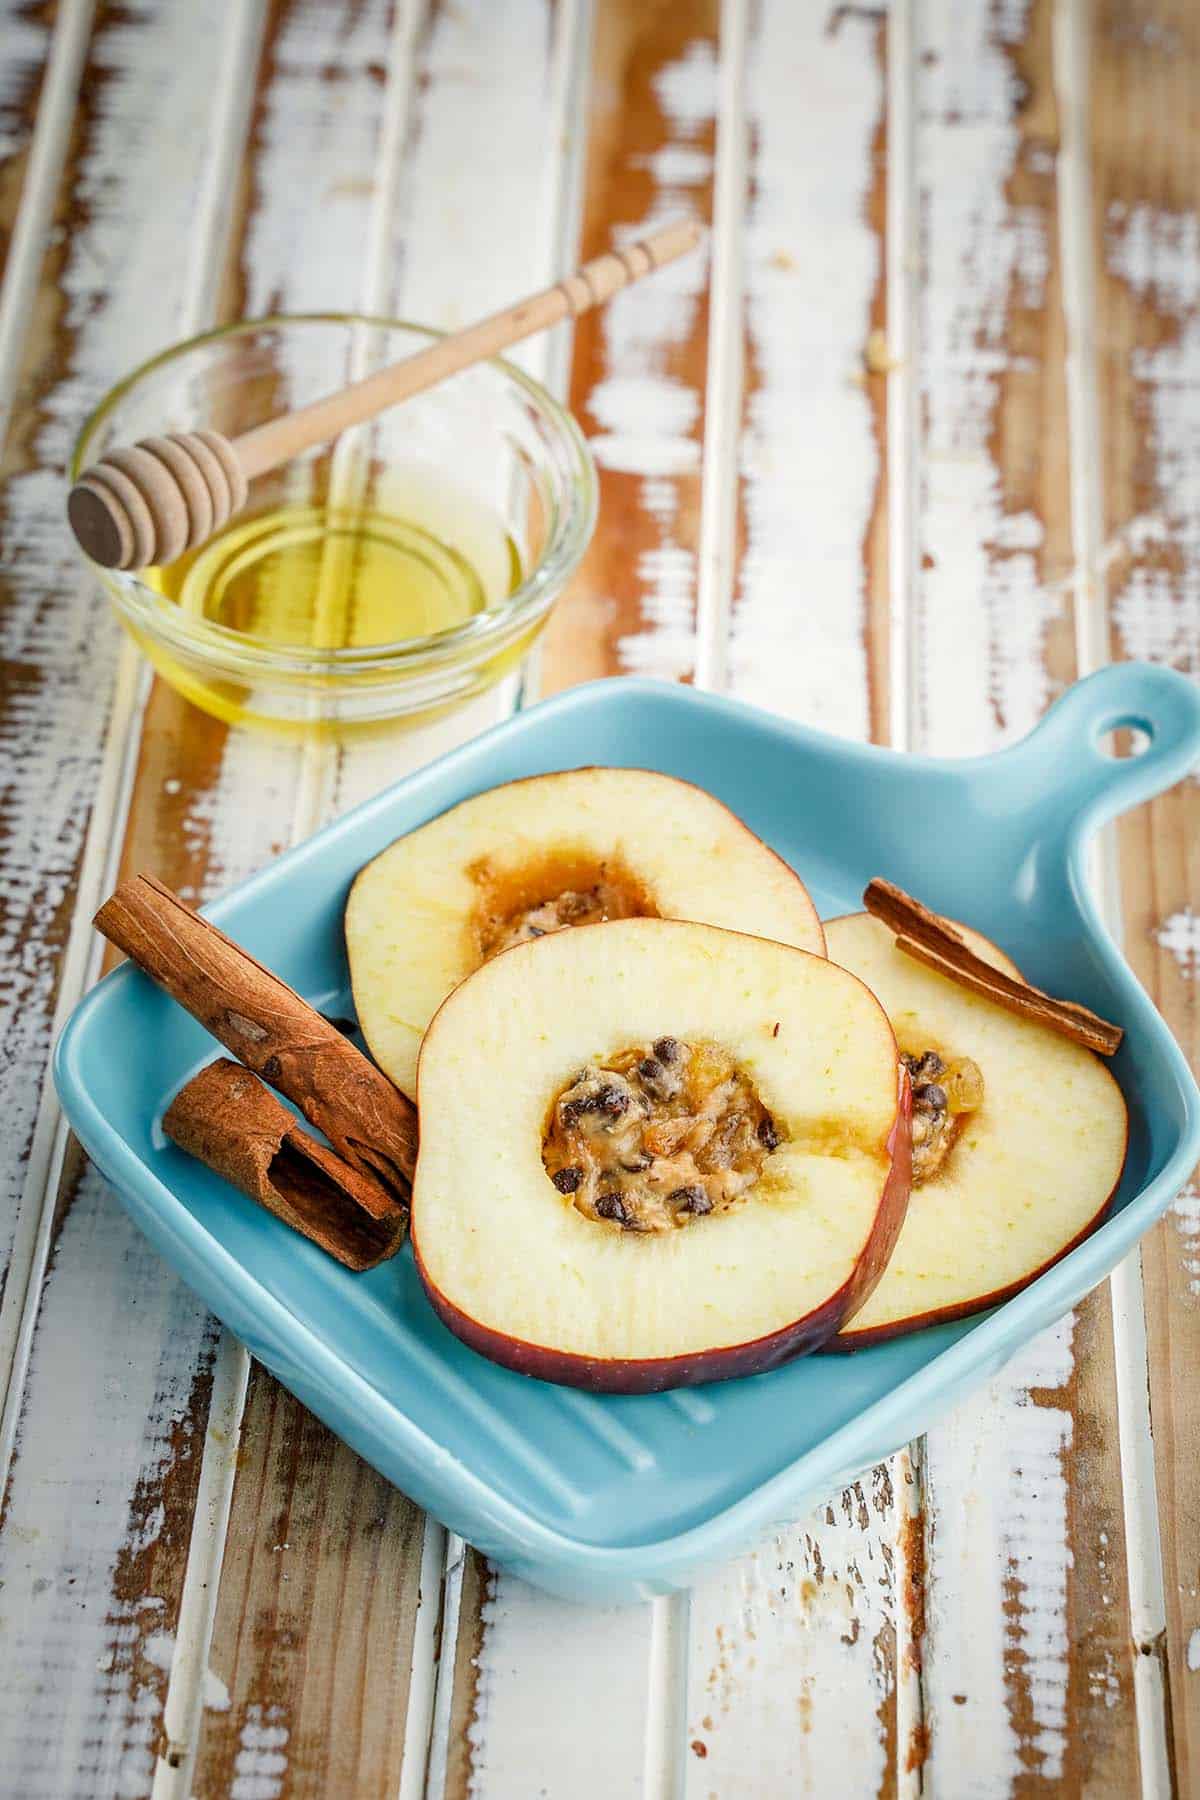
Apple Cartwheels
Believe it or not, the concept of apple cartwheels was not born in a kitchen, but in the great outdoors. Originally known as “orchard treats,” apple cartwheels harken back to simpler times when picnickers would gather the day’s harvest from the apple groves and, under the shade of the very trees that bore the fruit, would prepare these delightful pastries.
The tradition grew, quite literally, as the apple cartwheels’ delicious aroma beckoned others to sample the spoils of nature.
Today, these picnic staples have a place in recipe books and hearts worldwide, bridging generations with their timeless appeal.
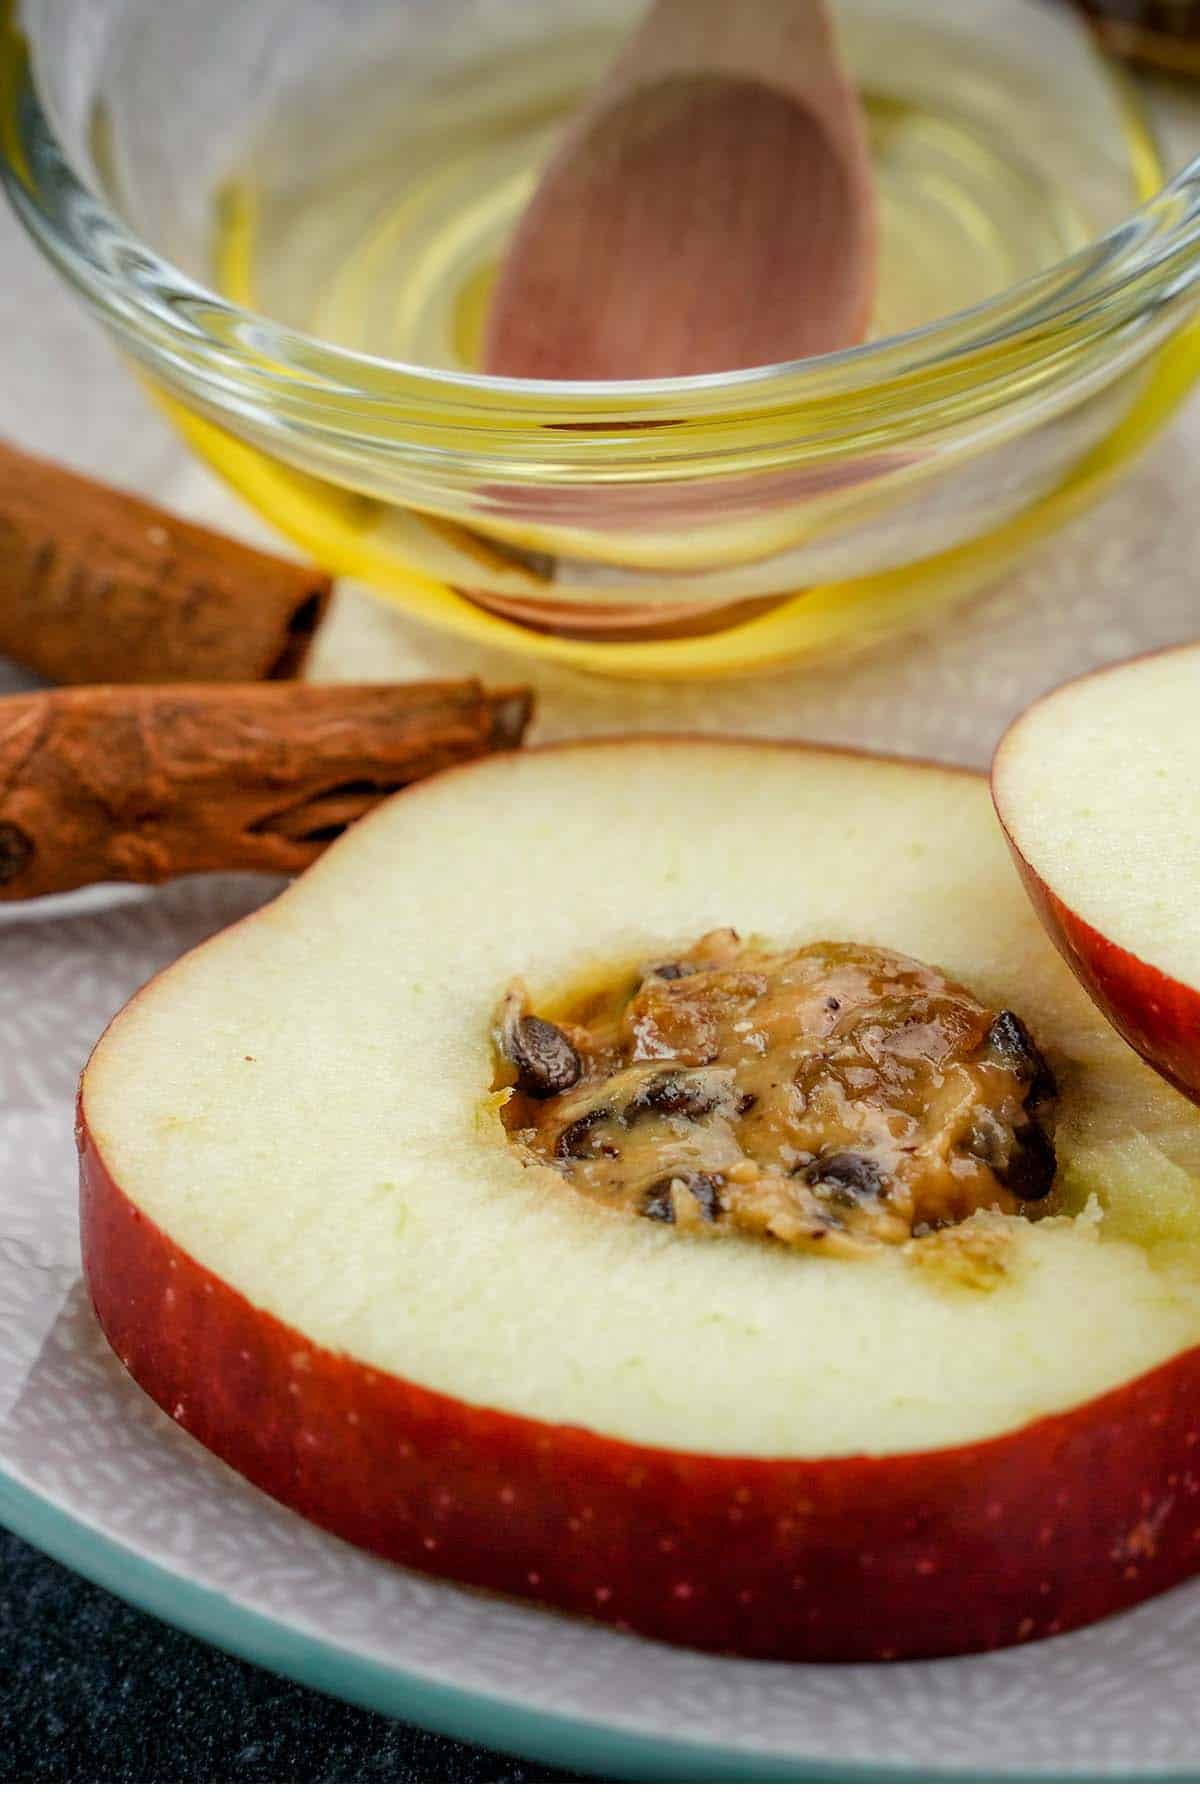
Ingredients to Make Apple Cartwheels
Creating your own apple cartwheels is simpler than it sounds and far more rewarding than store-bought alternatives. To craft these delectable pastries, you’ll need:
- ¼ cup peanut butter
- 1 ½ tsp honey
- ½ cup semisweet chocolate chips
- 2 tbsp raisins
- 2 big red delicious apples
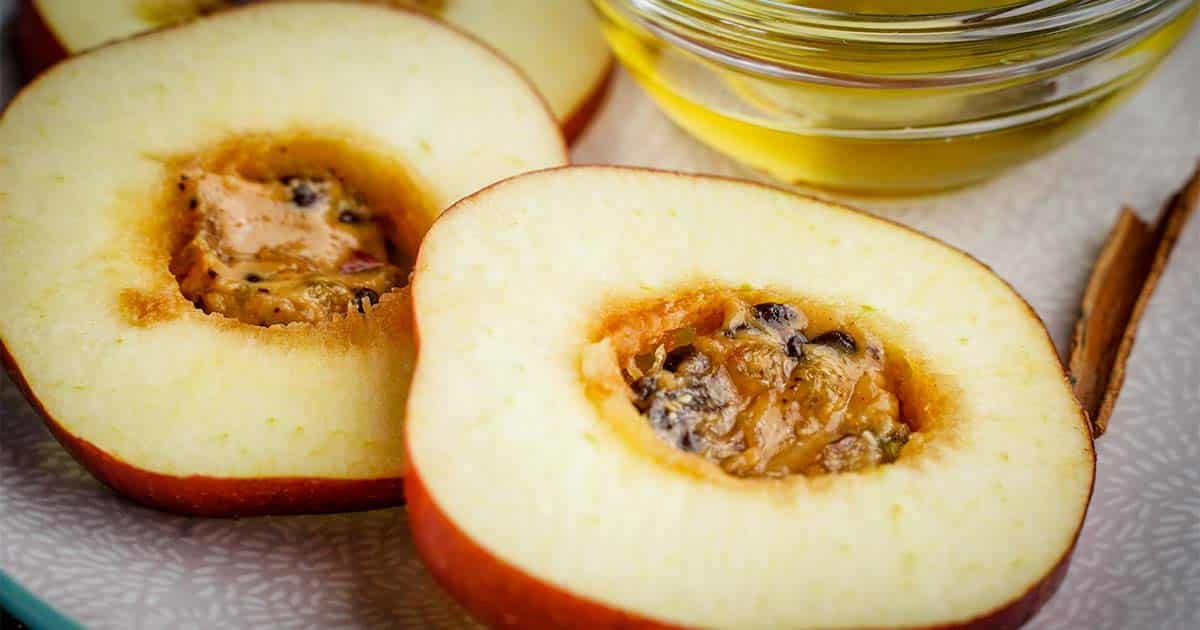
How to Make Apple Cartwheels
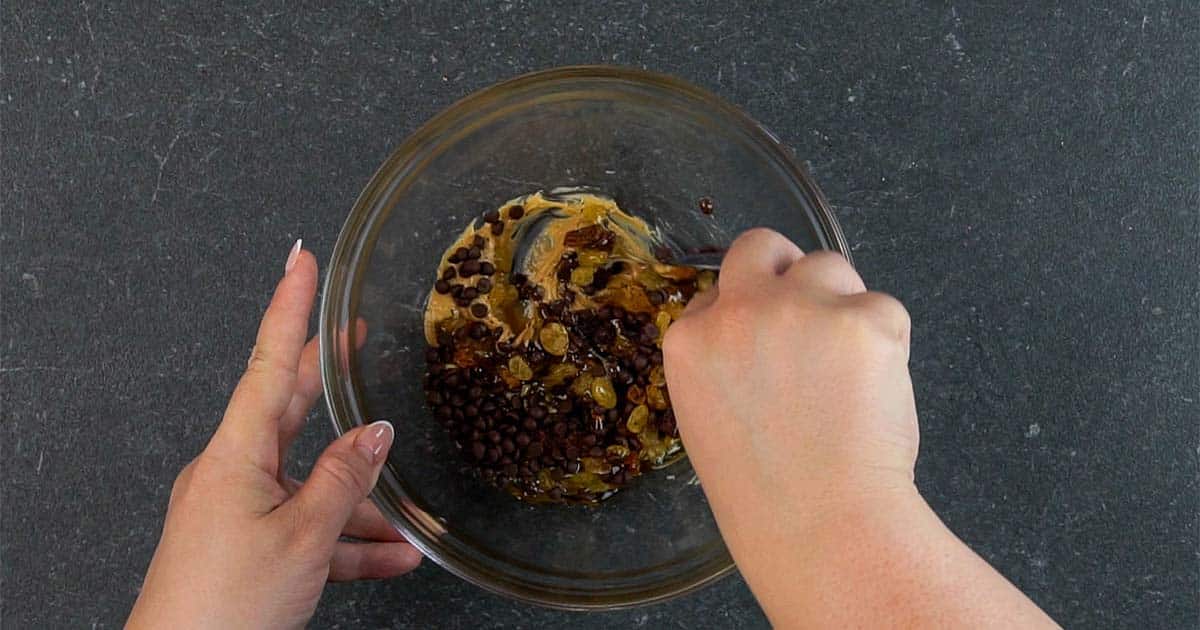
Take a medium bowl, pour the peanut butter, honey, chocolate chips, raisins and stir it until you get a mixture.
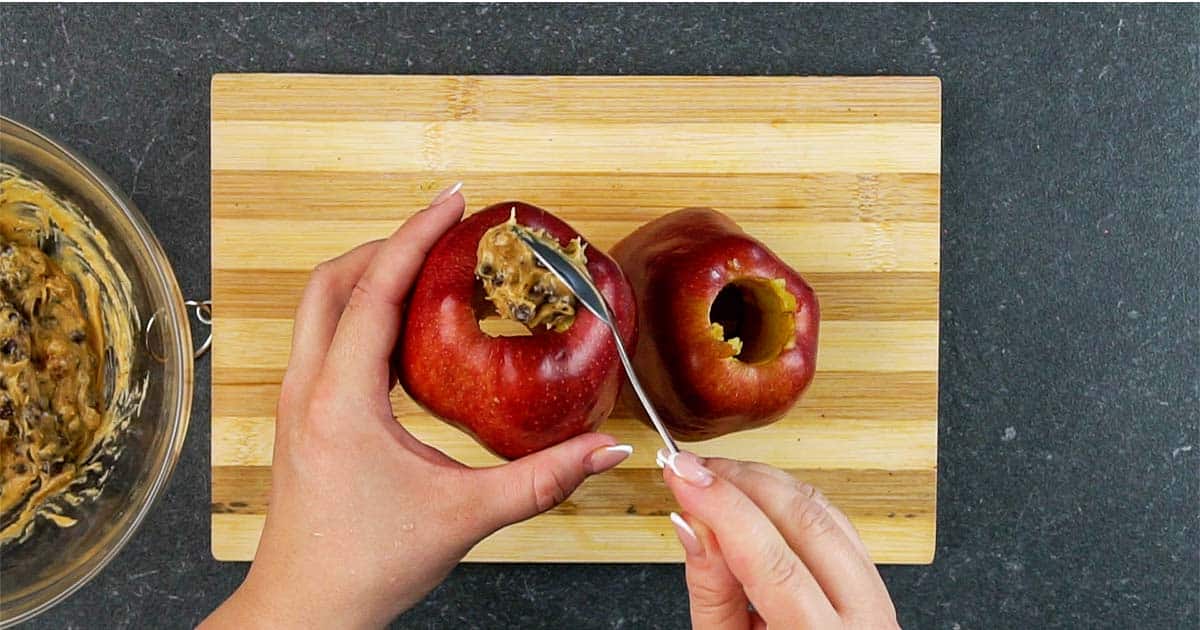
Wash the apples and remove the seeds from the center using a special knife. Fill the center of the apples with the previously created mixture.
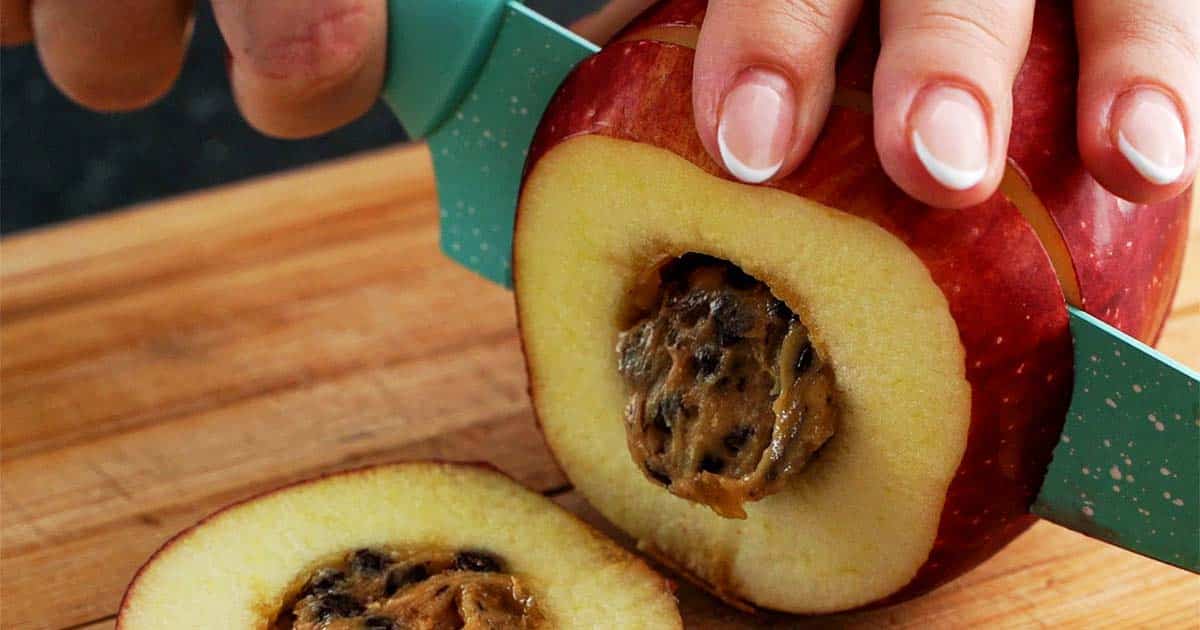
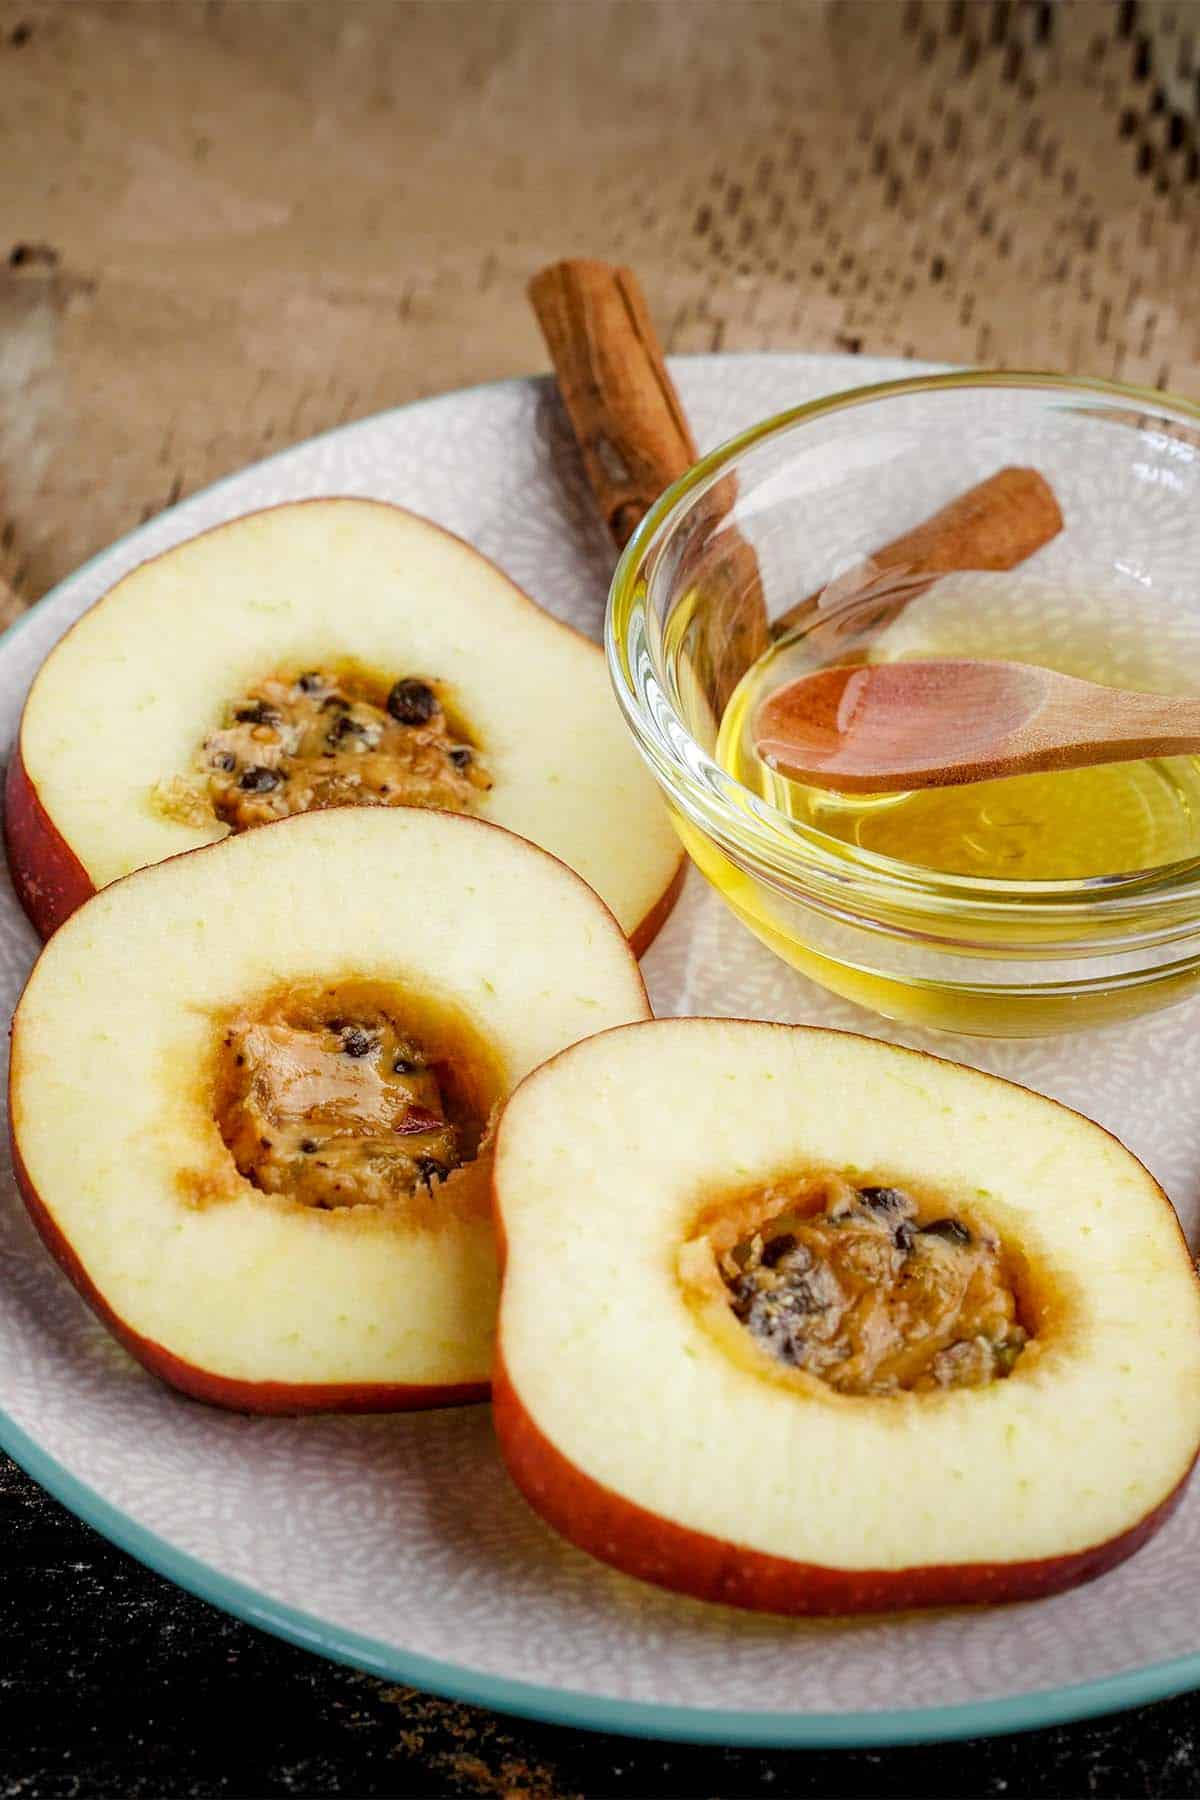
Place the apples in the fridge for at least one hour. Cut them into thin rings before you serve.
Note: You may be able to fill 4 apples with the same mixture in case you use small apples.
Picnic Perfect Pairings
No picnic is complete without the perfect pairings for your star snack. Apple cartwheels beg to be enjoyed with a chilled glass of homemade lemonade or a freshly brewed pot of tea.
If you’re hosting a larger gathering, consider an aromatic apple cider to quench your guests’ thirst.
On the side, a charcuterie board with a selection of cheeses, especially cheddars or bries, will create a well-rounded tasting experience.
Additionally, a medley of mixed nuts and seeds will provide a delightful contrast to the sweetness of the cartwheels.
And, of course, no picnic is solemn without a basket of crusty bread or baguettes.
Frequently Asked Questions about Apple Cartwheels
Q: Can I use a different type of apple for the filling?
A: Absolutely! While green apples are popular for their tartness and firm texture, feel free to experiment with other varieties. Red apples can provide a sweeter flavor, and a mix of different types can offer a unique taste experience.
Q: How do I ensure my apple doesn’t turn brown?
A: To prevent a brown apples, you can lightly spritz the exposed apple meat with lemon juice after slicing.
Q: Can I make apple cartwheels in advance?
A: Yes, apple cartwheels can be made in advance. They can be stored in an airtight container, after being spritzed with lemon juice as noted above. They’re also delicious when enjoyed at room temperature, making them perfect for picnics.
Q: Are there any nut substitutes for the filling?
A: For a no-nut version, use sunflower seed butter in place of the peanut butter. This will still provide the rich, sweet taste.
Q: What are some other fillings I can try?
A: The beauty of apple cartwheels lies in their versatility. Consider adding cranberries, nuts or even crispie rice cereal for a twist on the classic recipe.
What are Some Variation Ideas for Stuffed Apples?
Exploring the realm of flavor variations and combinations can significantly elevate the traditional apple cartwheel into a culinary masterpiece.
For an autumnal twist, mixing the apple filling with a sprinkle of pumpkin spice brings a cozy warmth to each bite, marrying well with the crispness of the apple.
Another intriguing combination is the inclusion of pear slices with the apple slices, offering a delicate sweetness and a slightly different texture.
For those with a penchant for the sweet and salty, incorporating bits of bacon or prosciutto into the stuffing mixture can create an unexpectedly delightful flavor profile. Adding a layer of thinly sliced brie cheese beneath the apple introduces a creamy dimension that pairs exceptionally well with the stuffed fruit, especially when topped with a drizzle of honey.
For a refreshing zest, a touch of lemon or orange zest mixed into the filling can brighten the overall flavor, providing a subtle citrus note that cuts through the sweetness.
The possibilities for creating new and exciting variations of apple cartwheels are nearly endless, encouraging culinary creativity and experimentation.
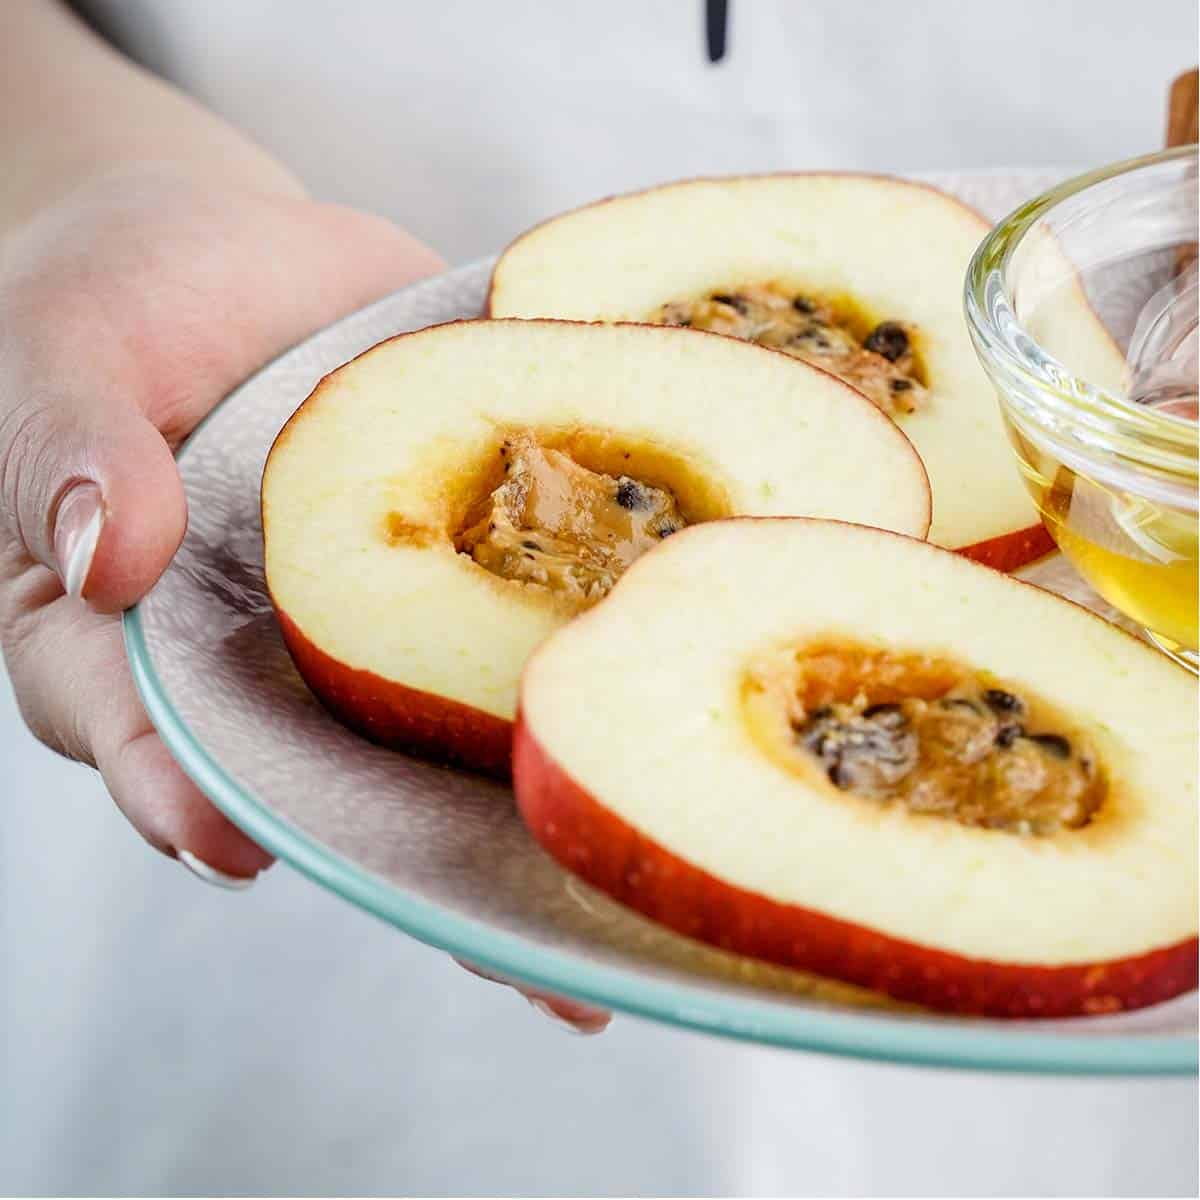
Apple cartwheels are more than just a picnic snack; they are a portable slice of comfort and joy. Their simple, rustic charm paired with the natural sweetness of apples makes them a beloved choice for planners and picnickers alike.
Whether you’re packing your basket for an intimate outing or a lively gathering, including these picnic darlings will be a decision you won’t regret. Happy picnicking!
More Fun Picnic Ideas You’ll Love
Planning a picnic can be so much fun! To help you get your little outdoor excursion pulled together, we’ve got some more fun picnic ideas we think you’ll love:
- 17 Picnic Desserts That Don’t Need Refrigeration
- Classic Italian Picnic Sandwich
- How to Plan an Authentic Italian Picnic
- 17 Breakfast Picnic Ideas
Apple Cartwheels
Equipment
- apple corer
- bowl
- spoon
Ingredients
- ¼ cup peanut butter
- 1 ½ tsp honey
- ½ cup semisweet chocolate chips
- 2 tbsp raisins
- 2 big red delicious apples
Instructions
- Take a medium bowl, pour the peanut butter, honey, chocolate chips, raisins and stir it until you get a mixture.
- Wash the apples and remove the seeds from the center using a special knife. Fill the center of the apples with the previously created mixture.
- Place the apples in the fridge for at least one hour. Cut them into thin rings before you serve.
